Book of discoveries · 155
Geodetective: instructions 1
Zoom with the mouse wheel inside the image or use the buttons. Drag the enlarged image with the hand cursor; swipe to move on a touchscreen.
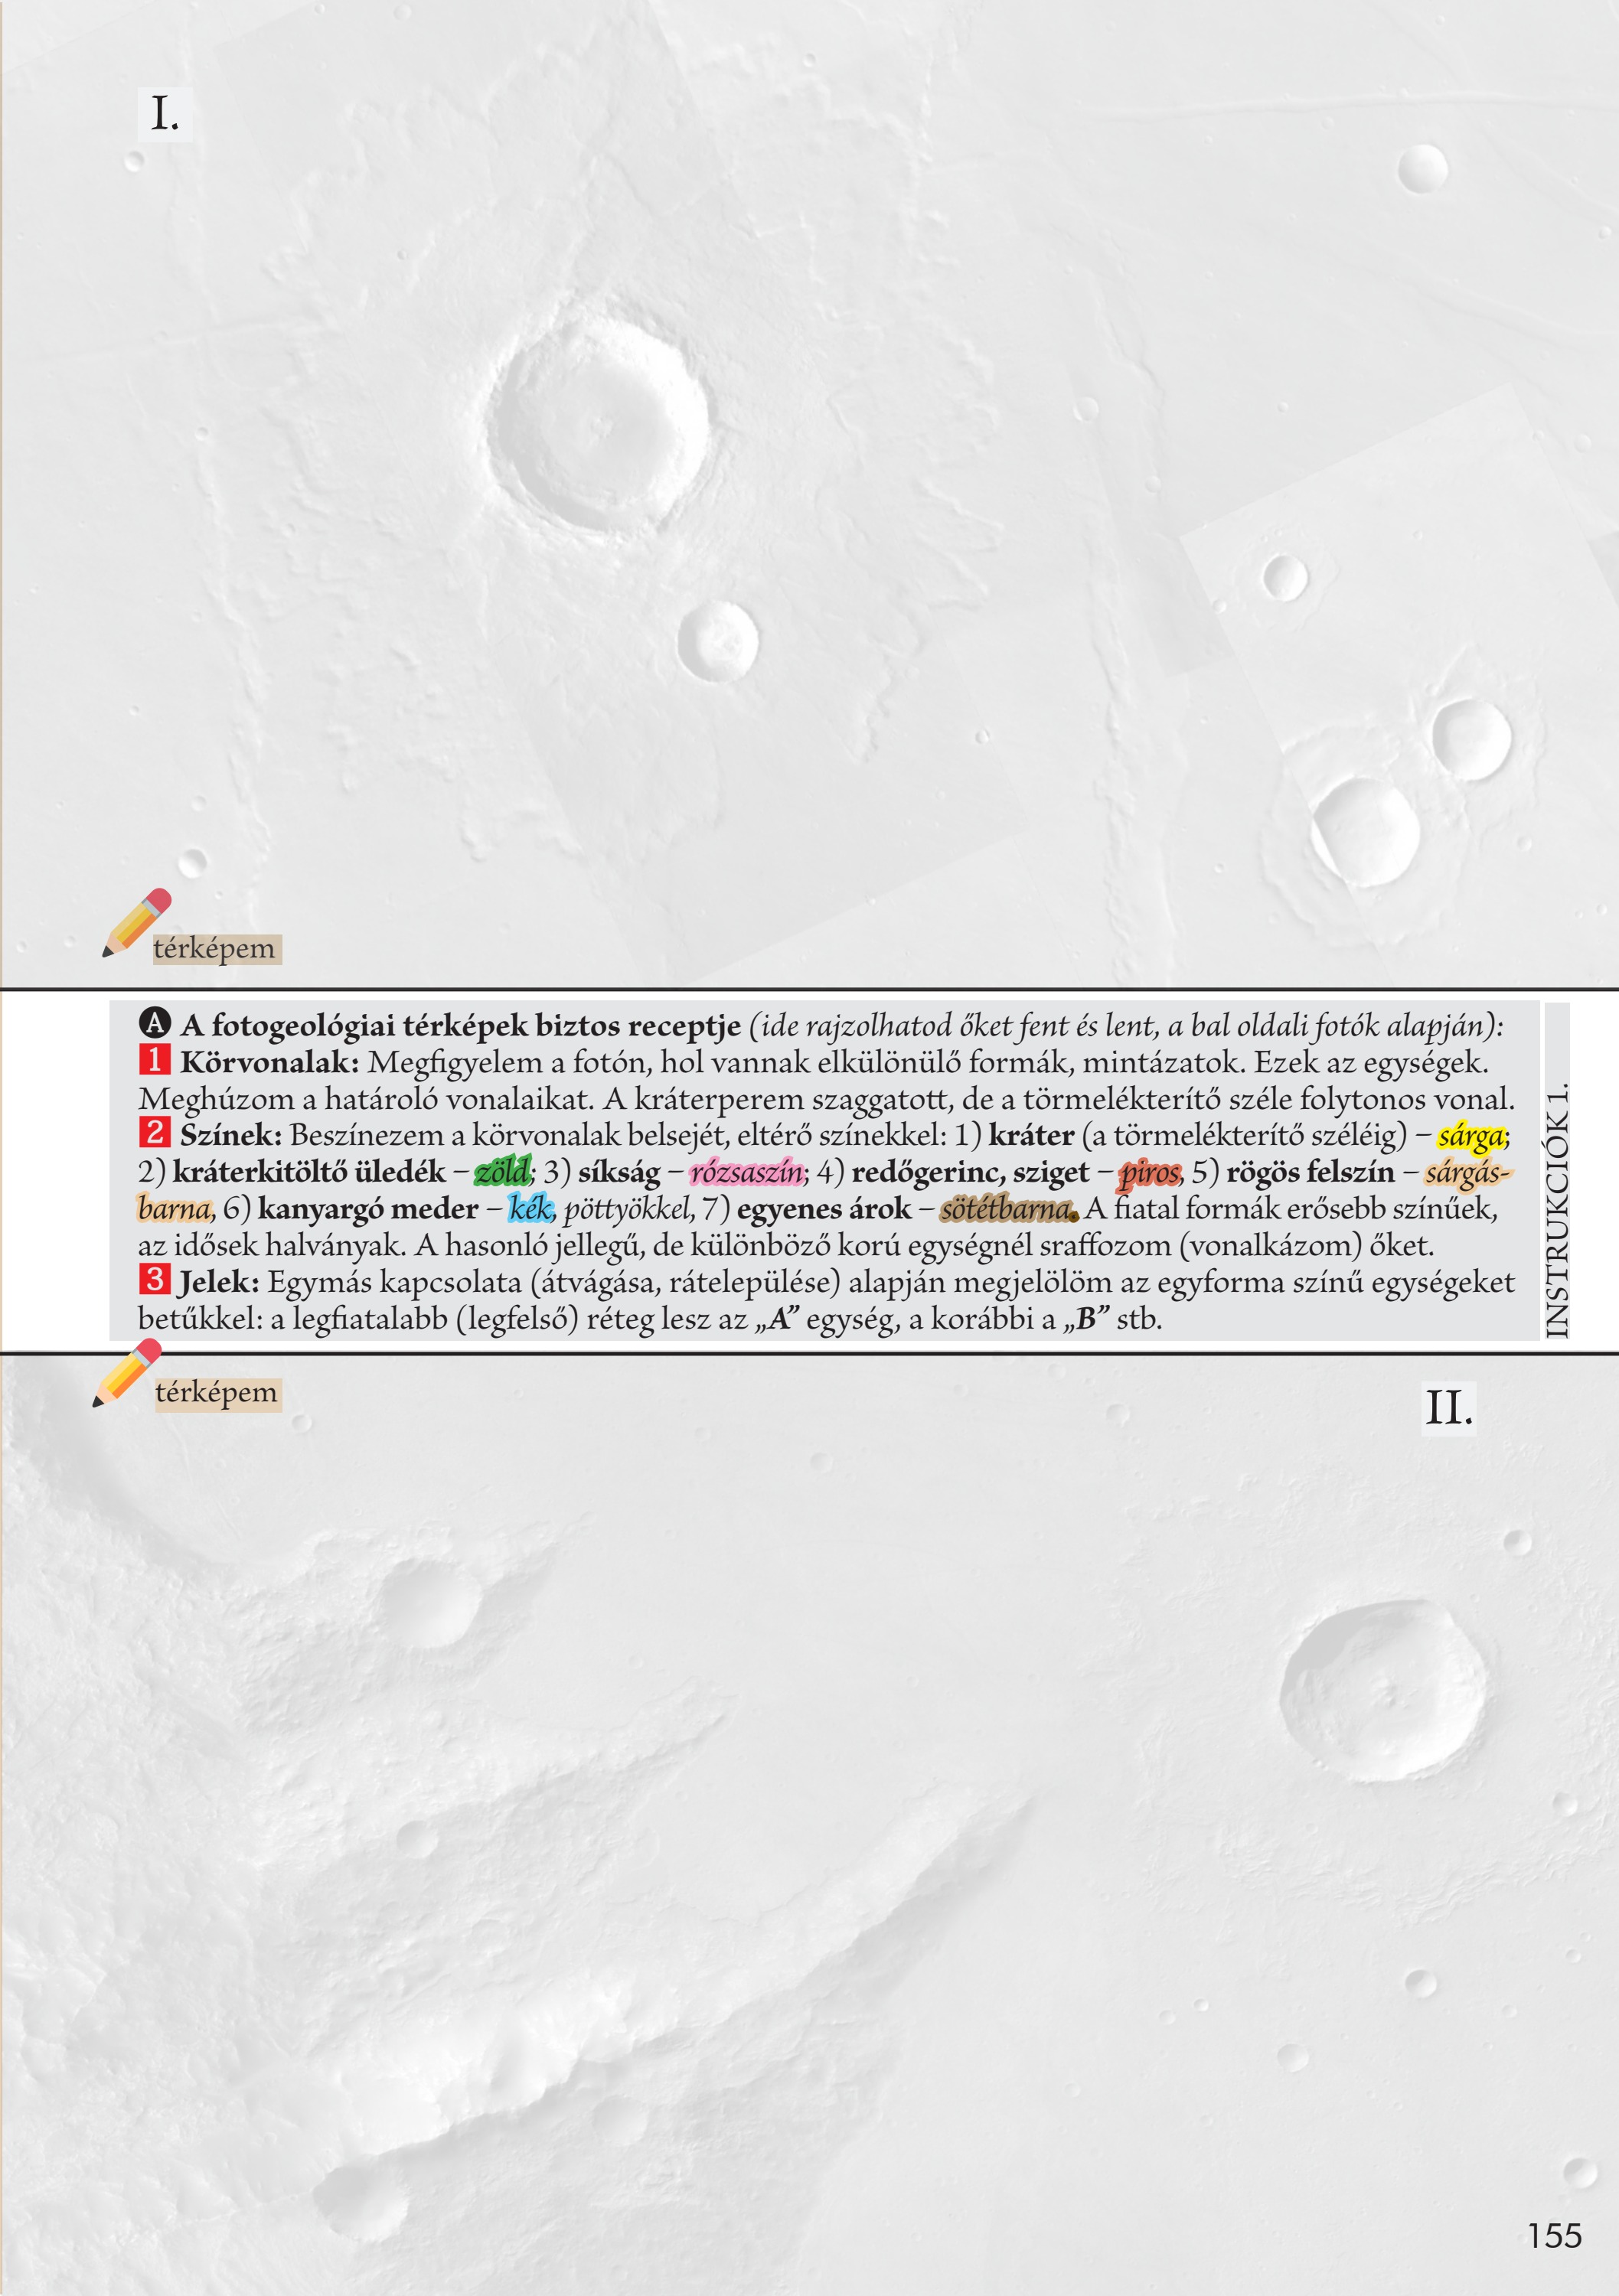
A reliable recipe for photogeological maps: 1 Outlines. Observe where distinct landforms and patterns appear in the photograph. These are the units. Draw their boundaries. Use a dashed line for the crater rim and a continuous line for the edge of its ejecta blanket.
2 Colours. Fill each outline with a different colour: crater, out to its ejecta edge, yellow; crater-filling sediment, green; plain, pink; wrinkle ridge or island, red; rugged terrain, yellow-brown; winding channel, blue with dots; straight trough, dark brown. Use stronger colours for younger features and paler colours for older ones. Hatch units that are similar in character but differ in age.
3 Symbols. Label units of the same colour with letters according to their relationships, cross-cutting and superposition. The youngest, uppermost layer is unit A, the earlier layer is B, and so on.
Your observations
Your notes are saved in this browser.