for studying the geology of Venus
Exercises
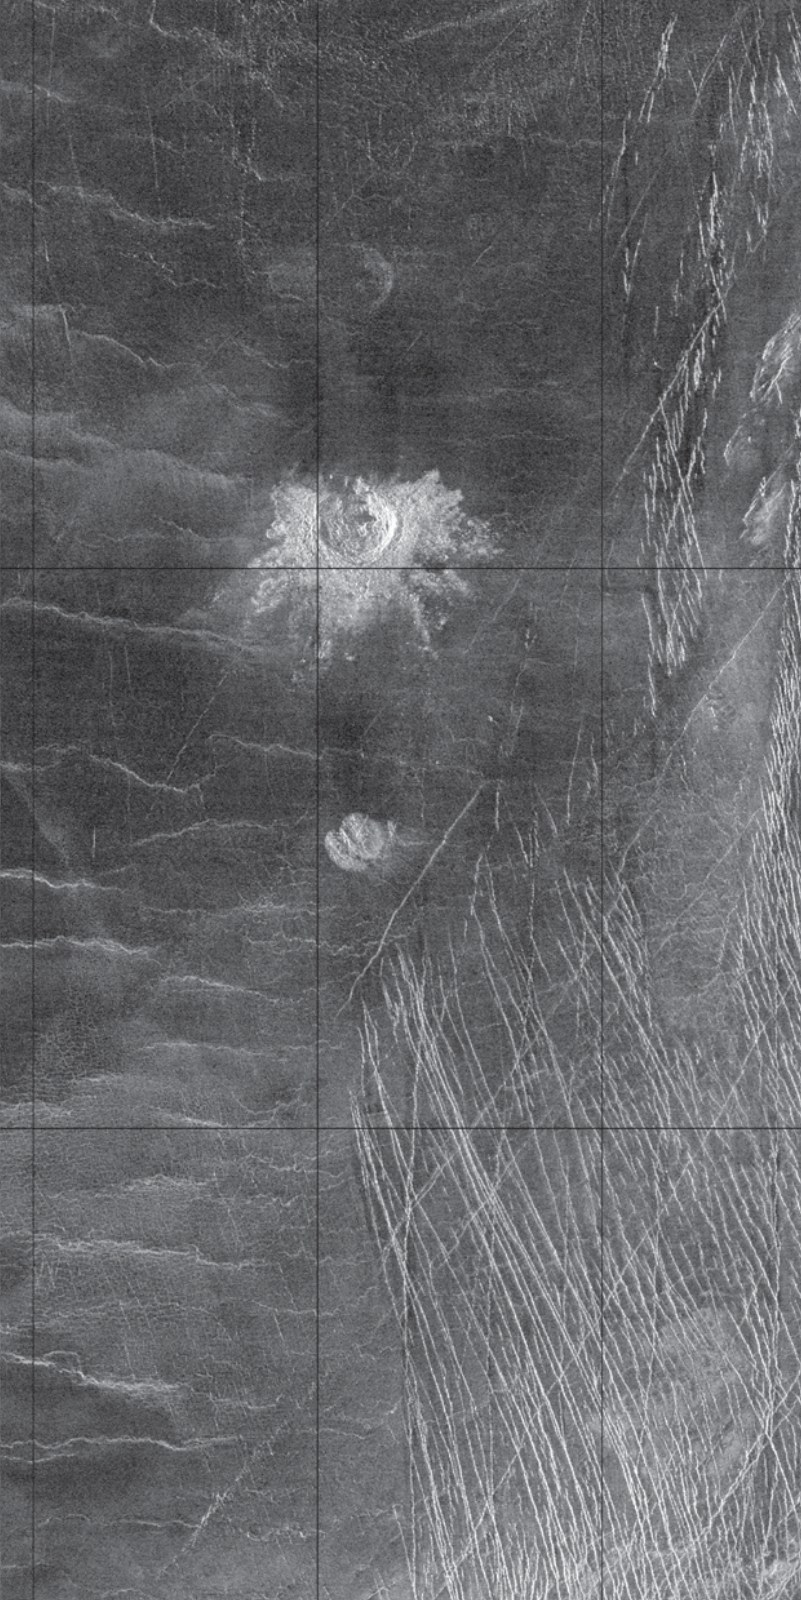
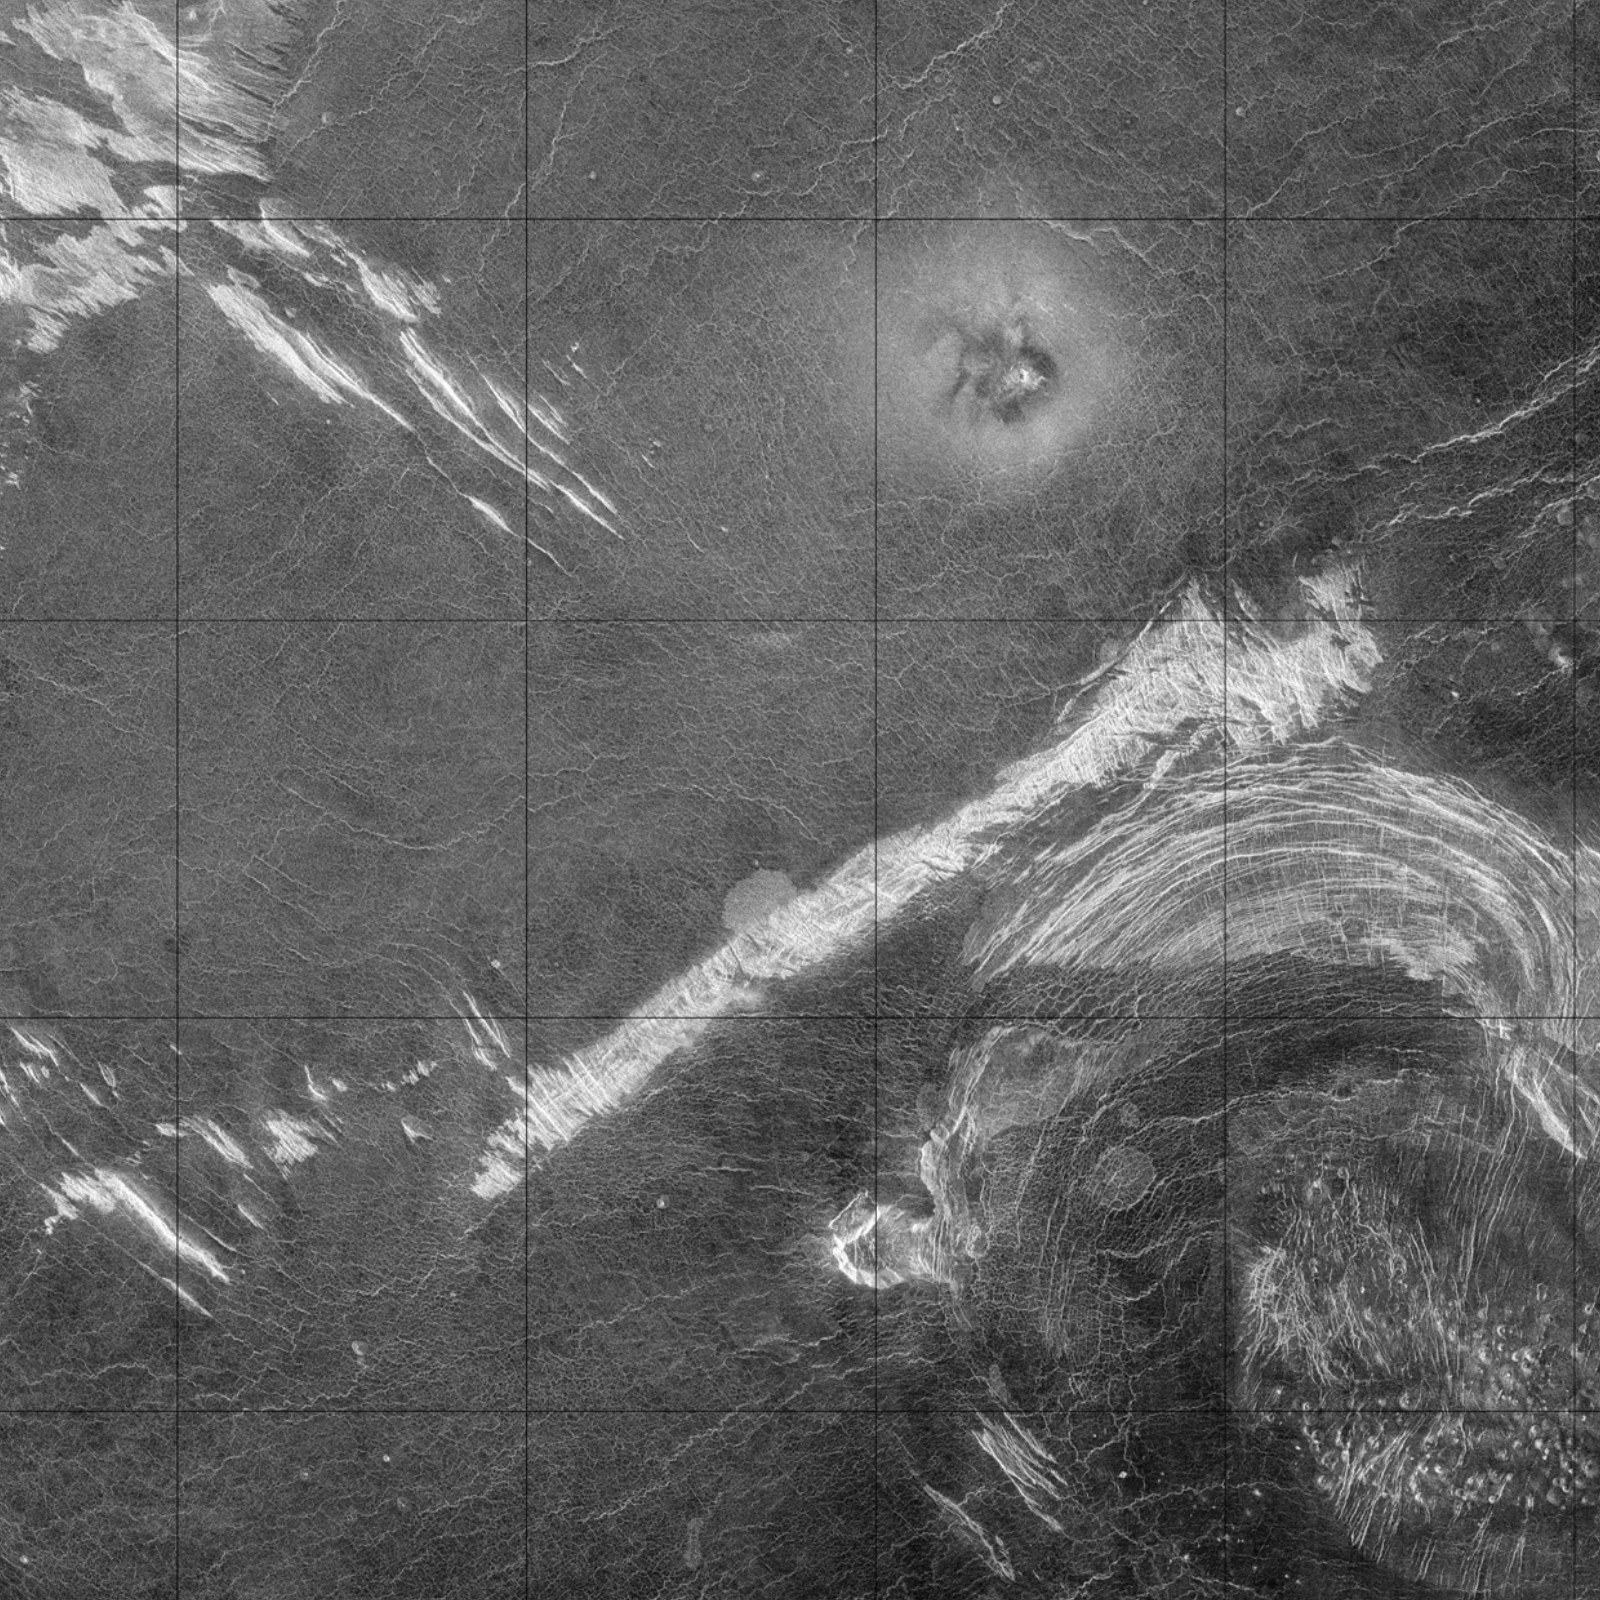
On this page you can practise planetary mapping. Using the images, you can learn to outline and identify geological and morphological units.
Planetary mapping is done by (astro)geologists working for NASA or other science institutes. The maps made for NASA are published by the USGS (United States Geological Survey). They follow standard methods that have been in use for decades. Planetary maps usually help to find a landing site for the next mission. Maps are also made from the images that spacecraft send back. They prepare a new mission that will answer the questions raised during mapping. Most often, these questions are linked to the search for life. That is the subject of astrobiology, and planetary geology is one of its supporting sciences: geologists can identify places where life may once have existed, or may exist today.
New discoveries sometimes call for leaving the standards behind. For example, Hansen (2018) recognized the largest "superstructure" of Venus with a new mapping method.
In Europe it is different. The European Space Agency (ESA) operates the European spacecraft, but it does not make or coordinate the maps based on their data. Europe also has no organization like the USGS. So planetary scientists make their own maps. They publish them in various journals, in various formats and with various methods.
The exercises below follow the usual methods of geological mapping. These methods differ a little on other worlds. There, we cannot "hammer" or drill the rocks. We cannot identify them on site or take samples from depth to reveal their 3D structure. Planetary geological maps are made from images, by photogeological interpretation. They rely on the shape of the surface, its morphology. The goal is still the same: to separate rock bodies that formed at different times, in different ways and under different surface conditions, based on their origin and history.
The task
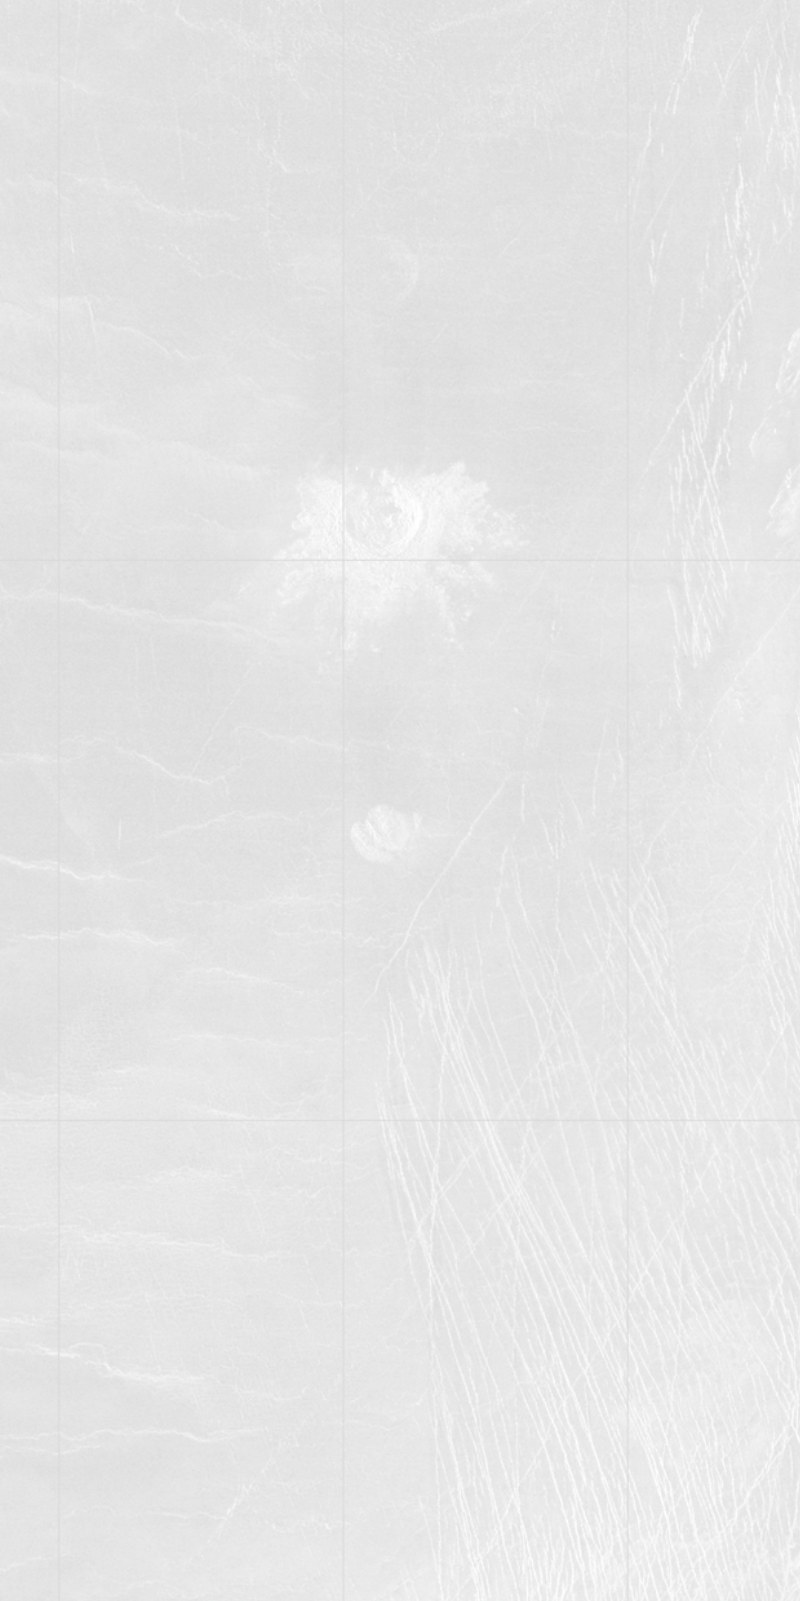
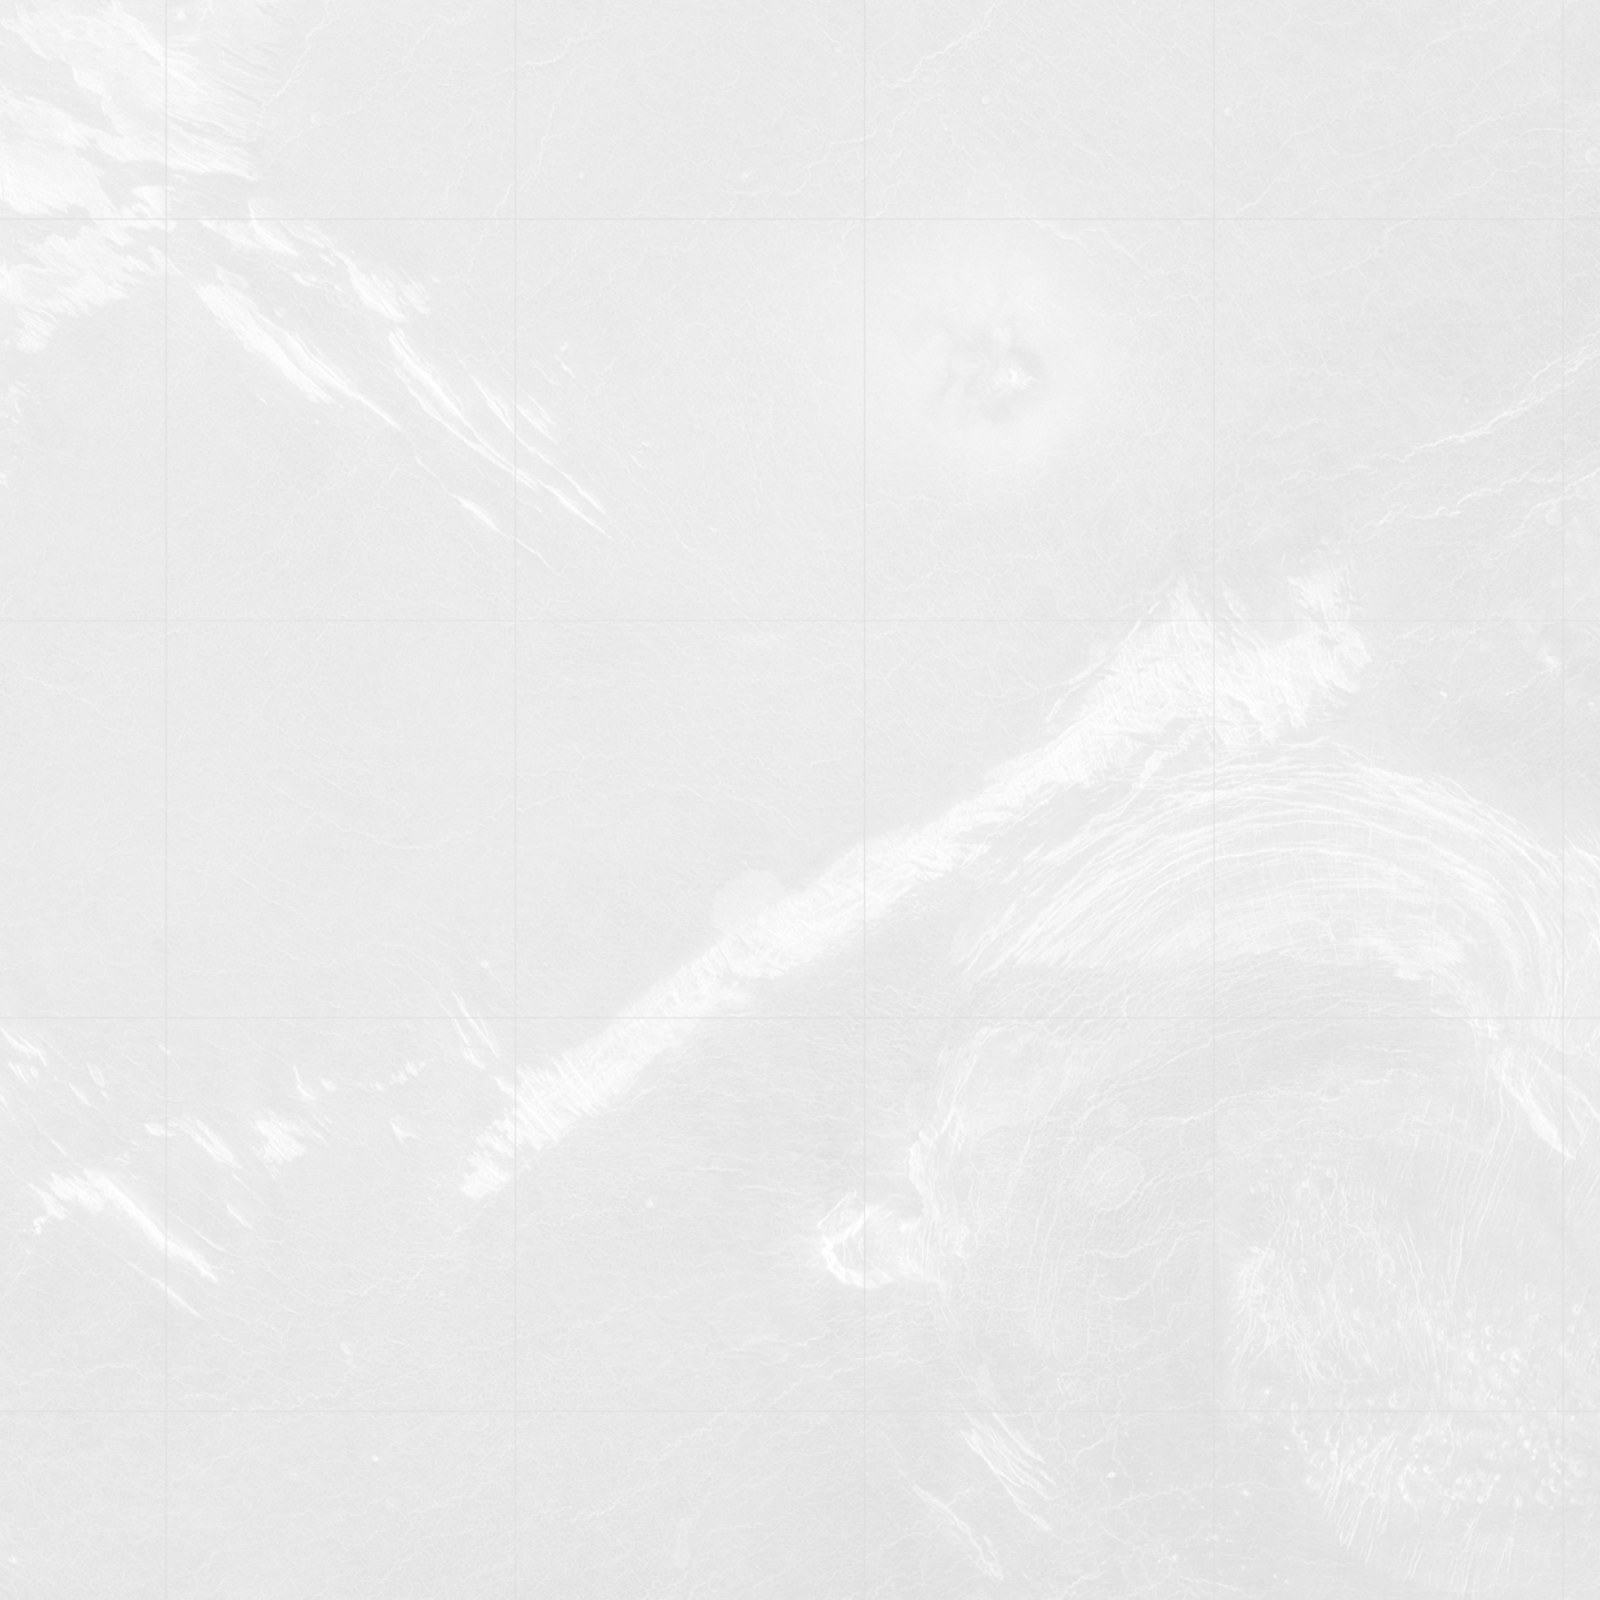
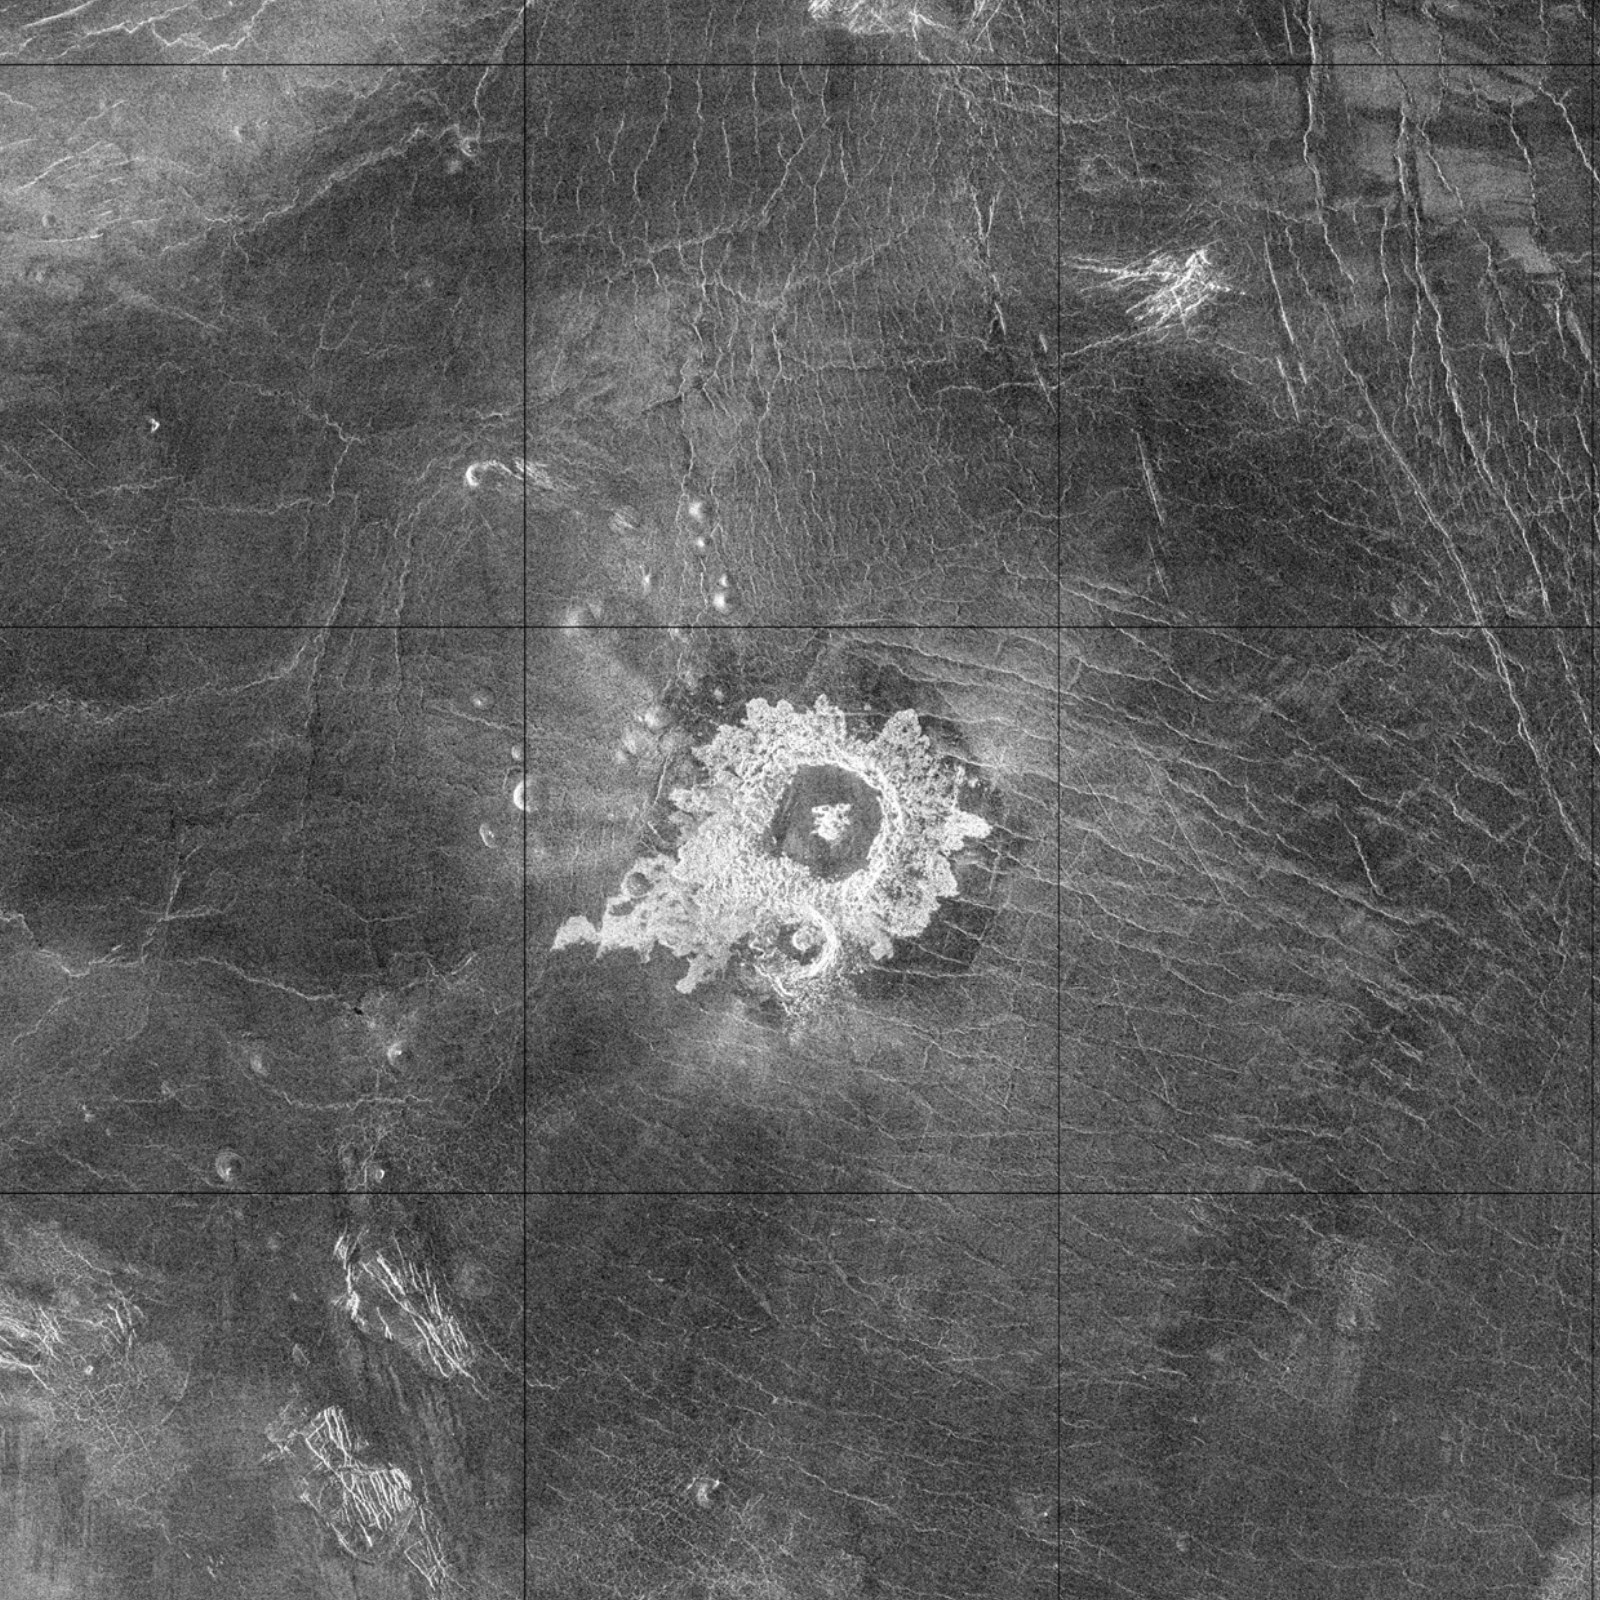
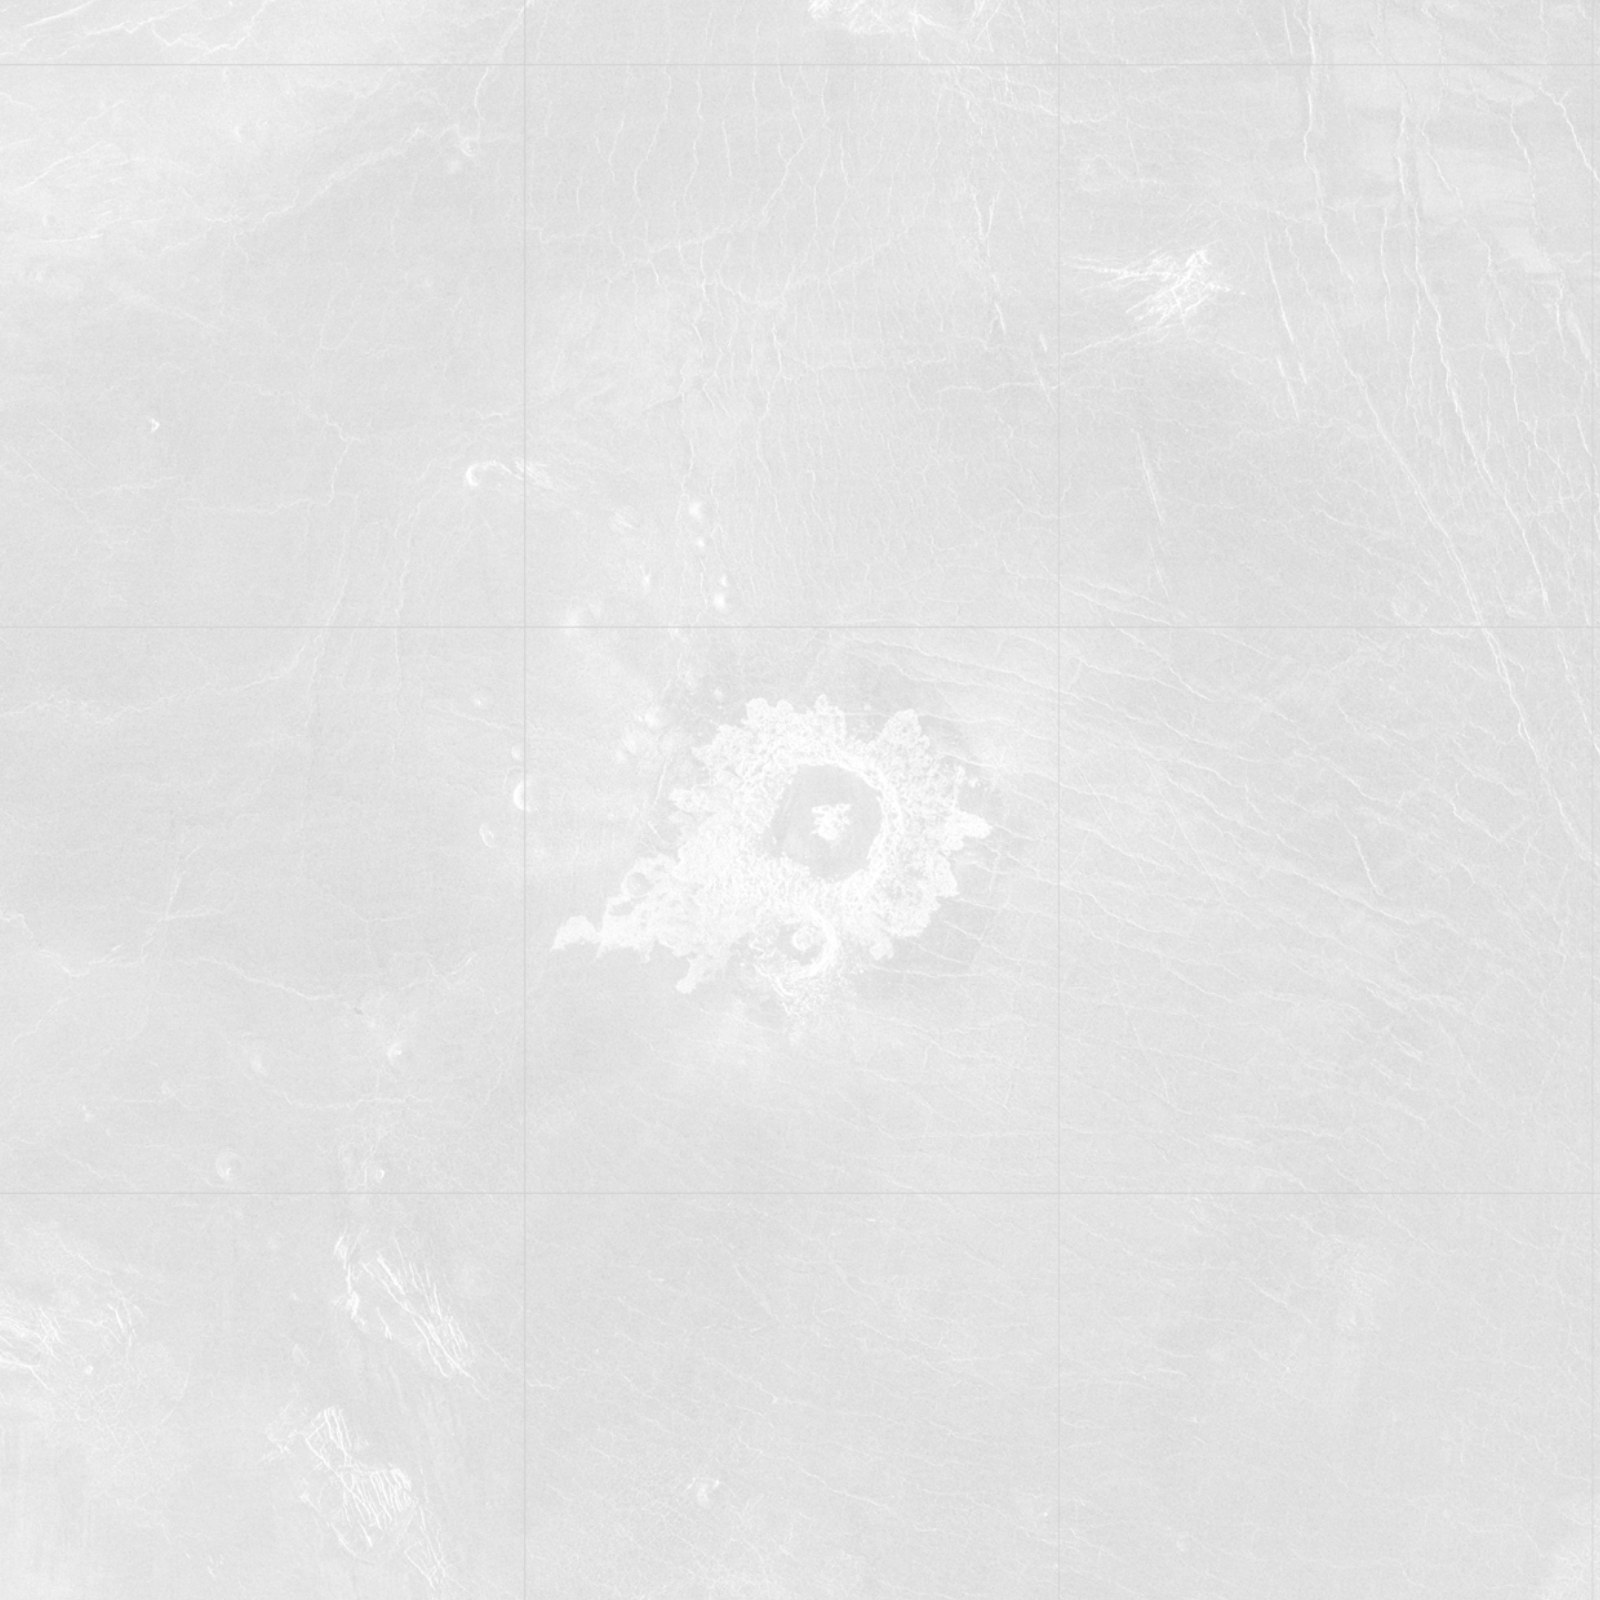
- Observe: Study the radar image. Identify the distinct landforms and patterns. Try to decide which landform in this book each feature matches (for example a central peak crater). Then continue on the faint image:
- Outline: Draw the outlines of the landforms you identified. Mark buried (inferred) landforms with a dashed line.
- Classify: Write the first letter of the landform's name in the middle of each outline (for example C: crater).
- Colour: Give landforms of the same type the same colour: crater (out to the edge of its ejecta) – yellow; crater fill deposit – green; plain – pink; wrinkle ridge, volcanic cone – red; rough surface – tan; trough – blue; other landforms – other colours.
- Name: Give each landform a name for the map of Venus. On Venus, only names related to women may be used. For the specific part of the name (like "Danube"), use first names (for example of women you know or your relatives) or family names (for example of your grandmother, great-grandmother and earlier ancestors). For the descriptor part (like "river"), try to use the Latin terms on the Descriptor terms page.
The printed book asks for a black pen and coloured pencils. In this edition you can draw on the faint image. The tools above the image add lines, dashed lines, letters and colour. With the Name tool, click the image and type a name on a baseline; you can turn the baseline and hide it. Your drawing and notes are stored only in this browser, on this device. They are not sent anywhere, but you can save them for yourself as an image.
Exercise 1
Exercise 2
Exercise 3